Syncing with Xero
Table of Contents
How to establish the sync between Biller Genie and Xero.
It is important to note that in order for Biller Genie to work with your customer and invoice information, a sync must be established with Xero.
Step 1
Upon logging in to Biller Genie, click Add-ons Marketplace, and search “Xero”.

Step 2
Click the ‘Xero’ tile, then click 'Install'

Step 3
Click ‘Connect to Xero’ to begin.
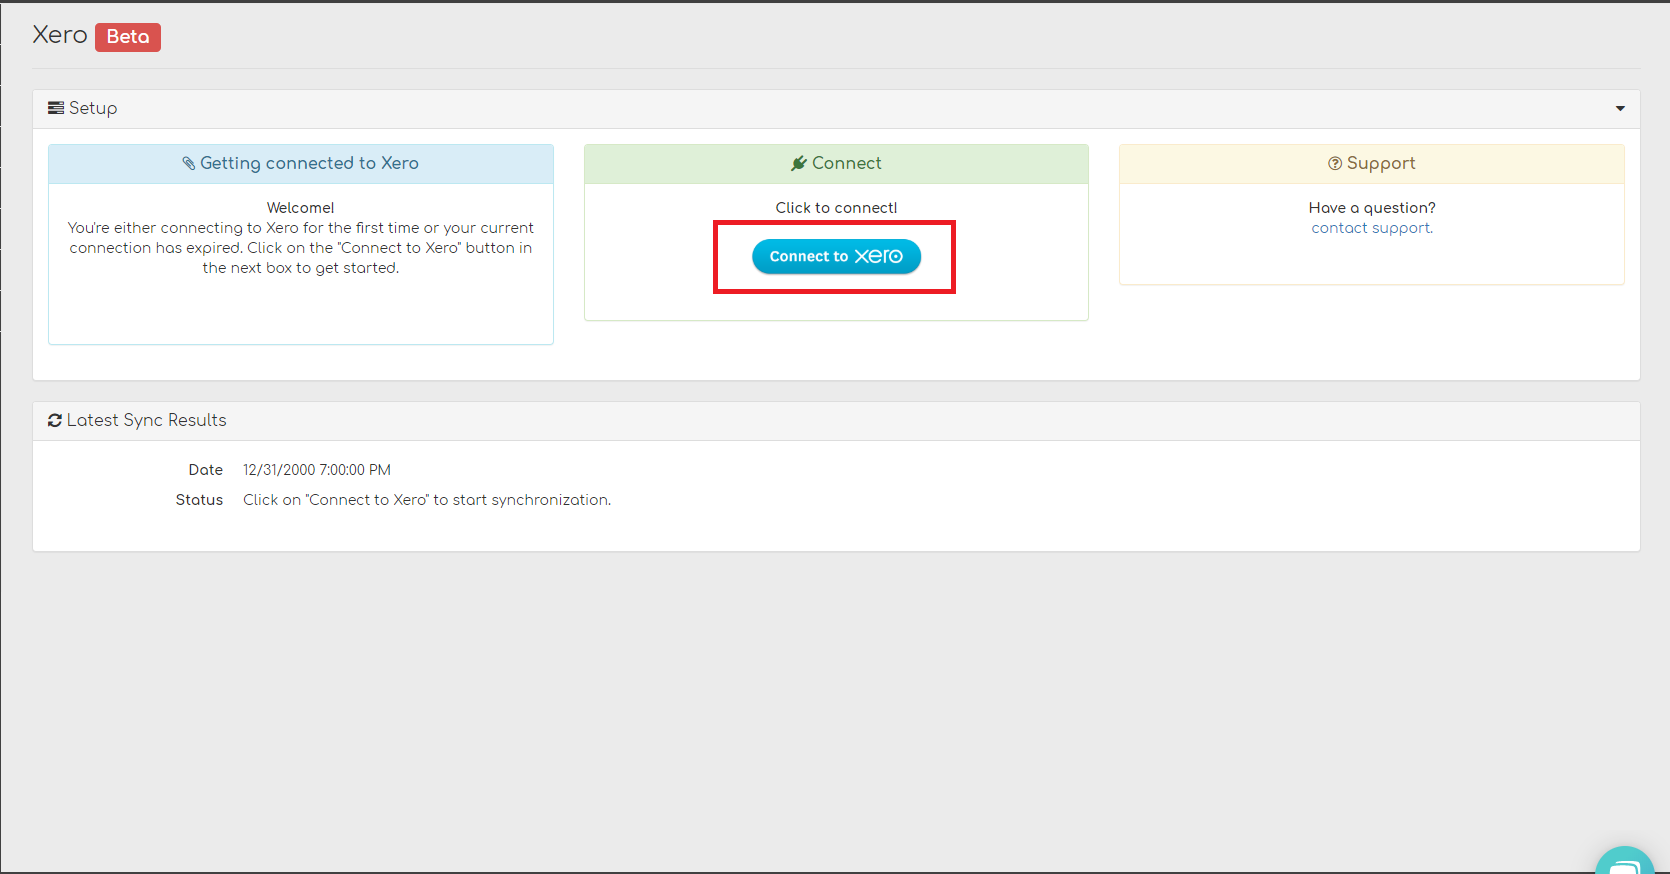
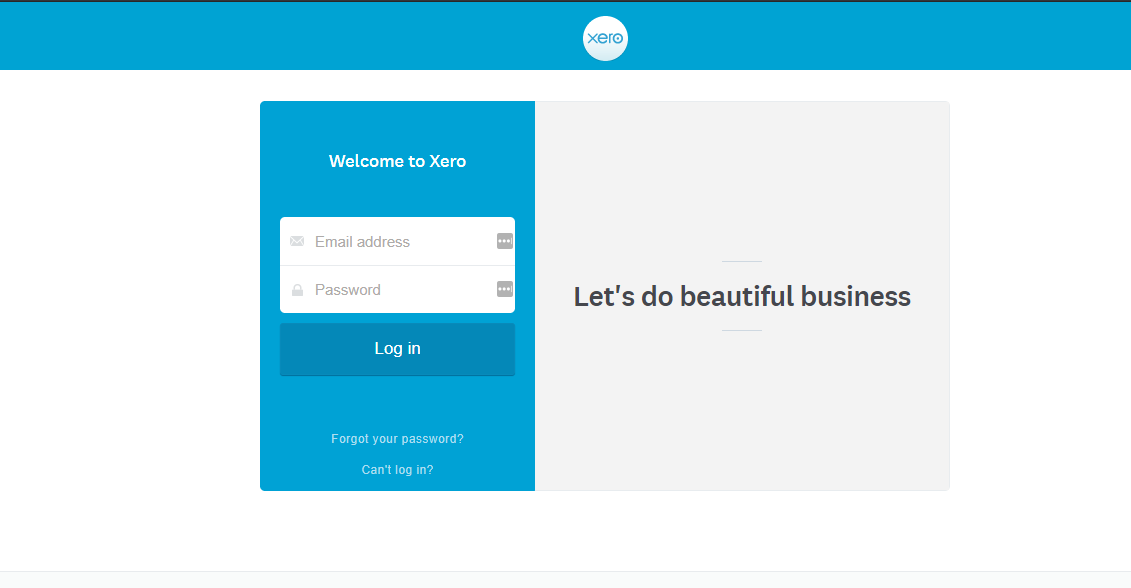
You will then be directed to the login page for your Xero account.
Step 3
Log into your Xero account and a sync will initiate. You will see a sync status notification, as displayed in the screenshot below. Once “Successful” is displayed, Biller Genie has successfully synchronized with Xero and you will see your customers, open invoices, customers, and line items in Biller Genie.
