Setting Invoice Defaults
Table of Contents
You can control the look and feel of your invoices, including determining what data fields are displayed.
Step 1
Navigate to Control Panel > Invoice Defaults.
Step 2
Select your preferred Default Invoice Options.
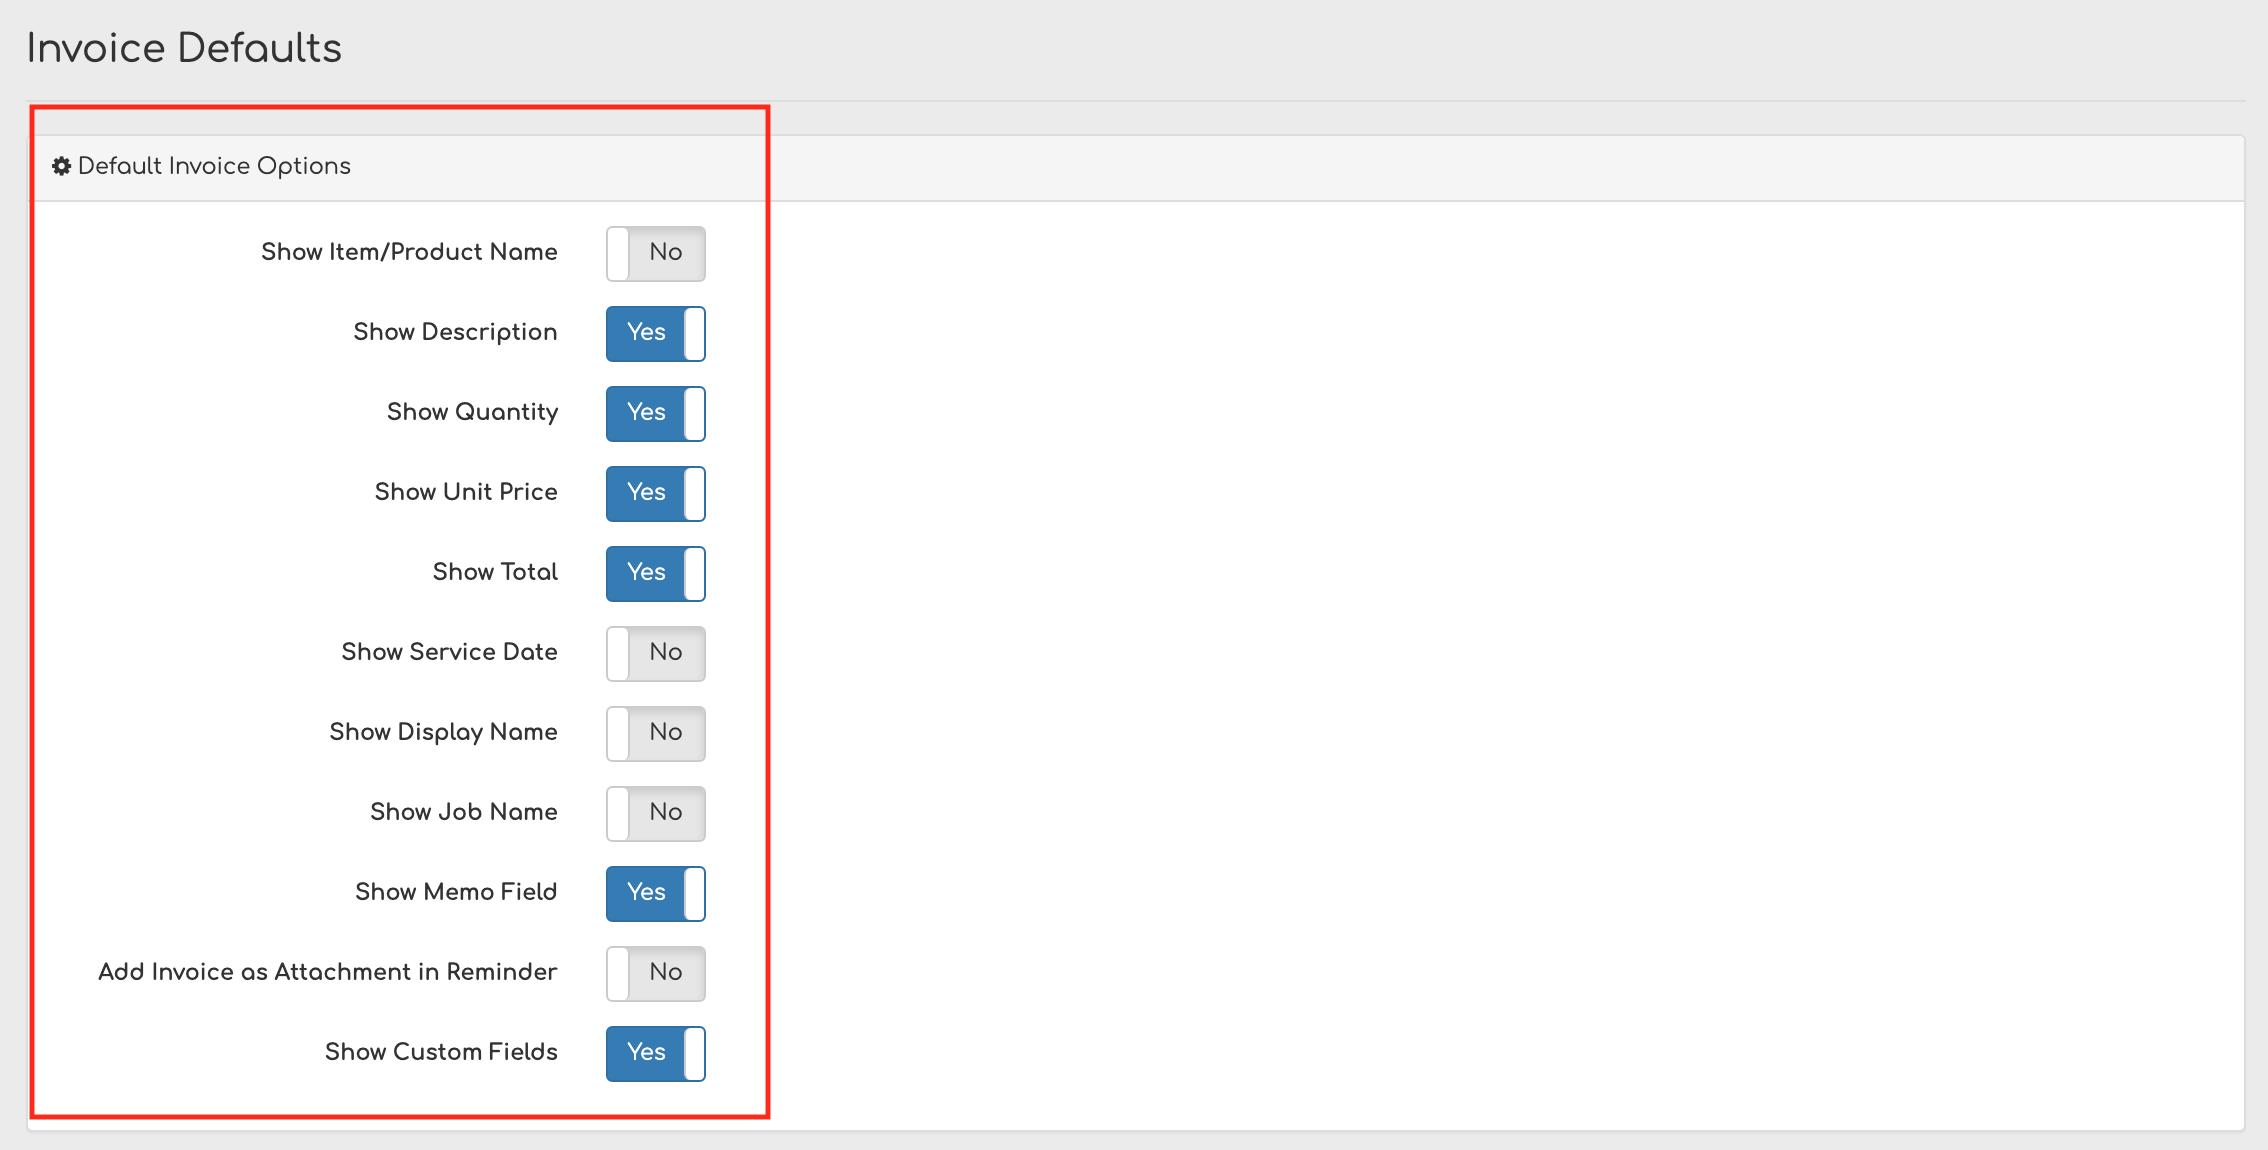
INVOICE DEFAULT OPTIONS:
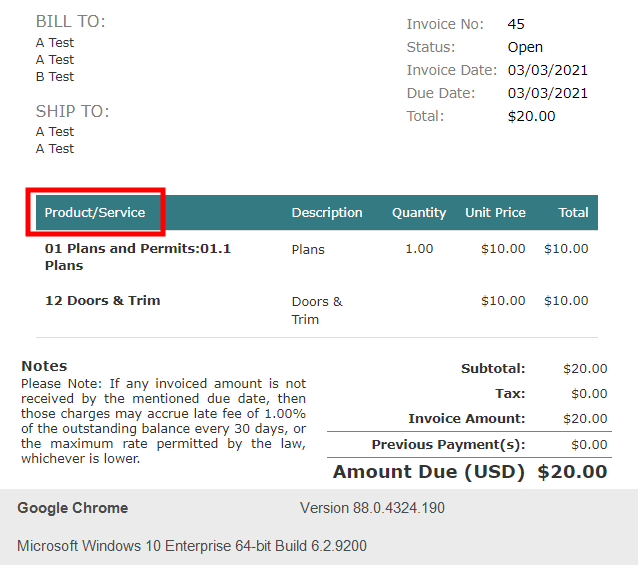
Show Item/Product Name
This will enable the column Product/Service in the invoice body.
For some companies, this is necessary information for the customer to see. We recommend that you toggle this setting to view the difference on the invoice and ensure that it’s enabled if needed.
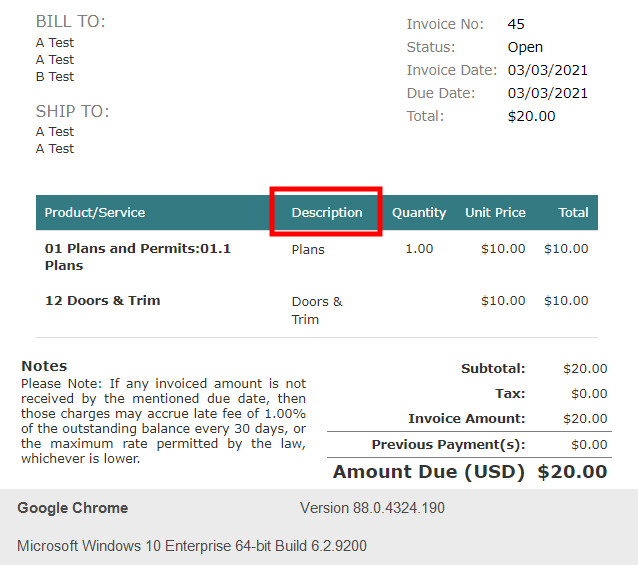
Show Description
This will enable the column Description in the invoice body.
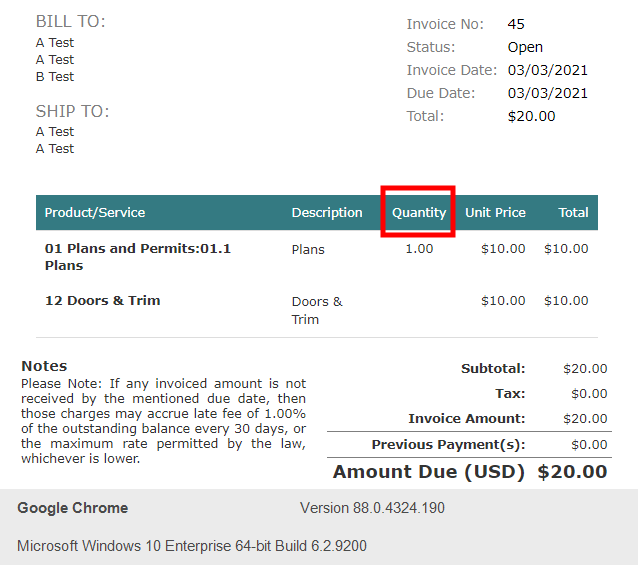
Show Quantity
This will enable the column Quantity in the invoice body.
If Quantity is left blank on the invoice in the accounting software, it will also be left blank on the Biller Genie invoice.
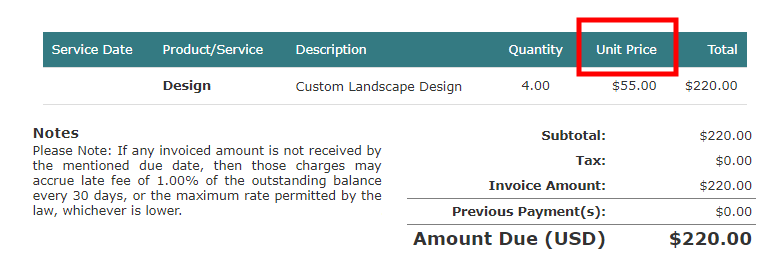
Show Unit Price
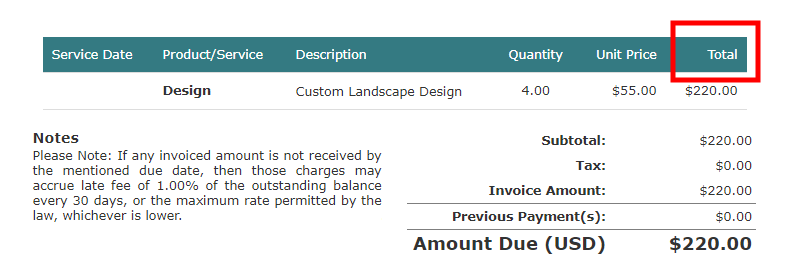
Show Total
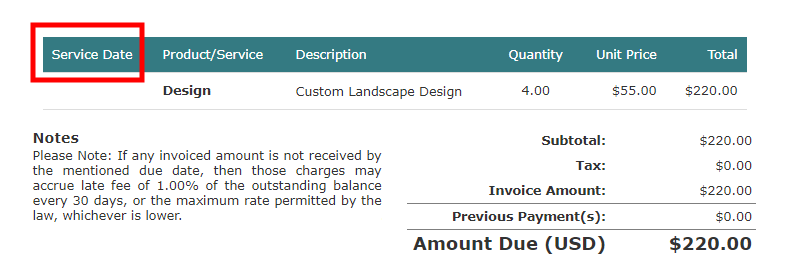
Show Service Date
Show Display Name
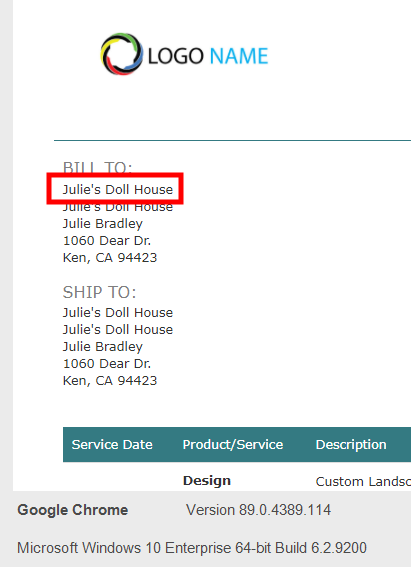
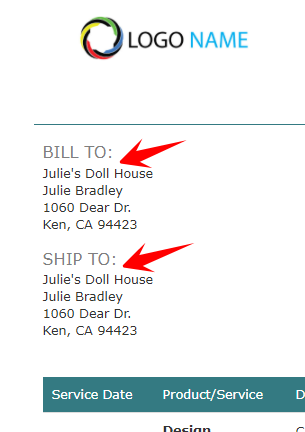
If the display name in the Customer Profile in Biller Genie is the same as the first line of the Bill To address from your accounting software, you can leave the Display Name field turned off to avoid redundancy.
Display Name turned on:
Display Name turned off:
Show Job Name
Show the name of the Job on the invoice.
Show Memo Field
If you add a memo on the invoice in your accounting software and turn on the Memo field, you’ll see the memo under Notes towards the bottom right of the invoice.

Add Invoice as Attachment in Reminder
Any reminder sent to a customer will have a PDF file of the invoice attached.
If this is turned off, the PDF file will not be attached to Reminders. However, the customer can still download a PDF copy of the invoice after following the View Invoice link in the Reminder email.
Note: We recommend this setting remain turned off to ensure the highest email deliverability rates.
Show Custom Fields
The custom fields will appear in the same order as they do on the invoice in the accounting software. They’ll appear stacked above the default fields “Invoice No., Status, Invoice Date, Due Date, and Total”, and just below your company name and address.
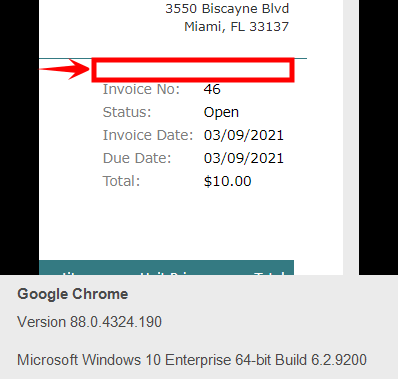
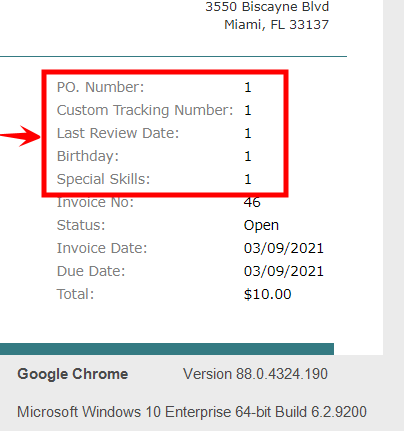
The custom field must be populated with data in QuickBooks for this to display on the Biller Genie invoice. Either “Print” or “Screen” checkboxes (one or the other) must also be checked for these to be available for Biller Genie to pick up on.
Step 3
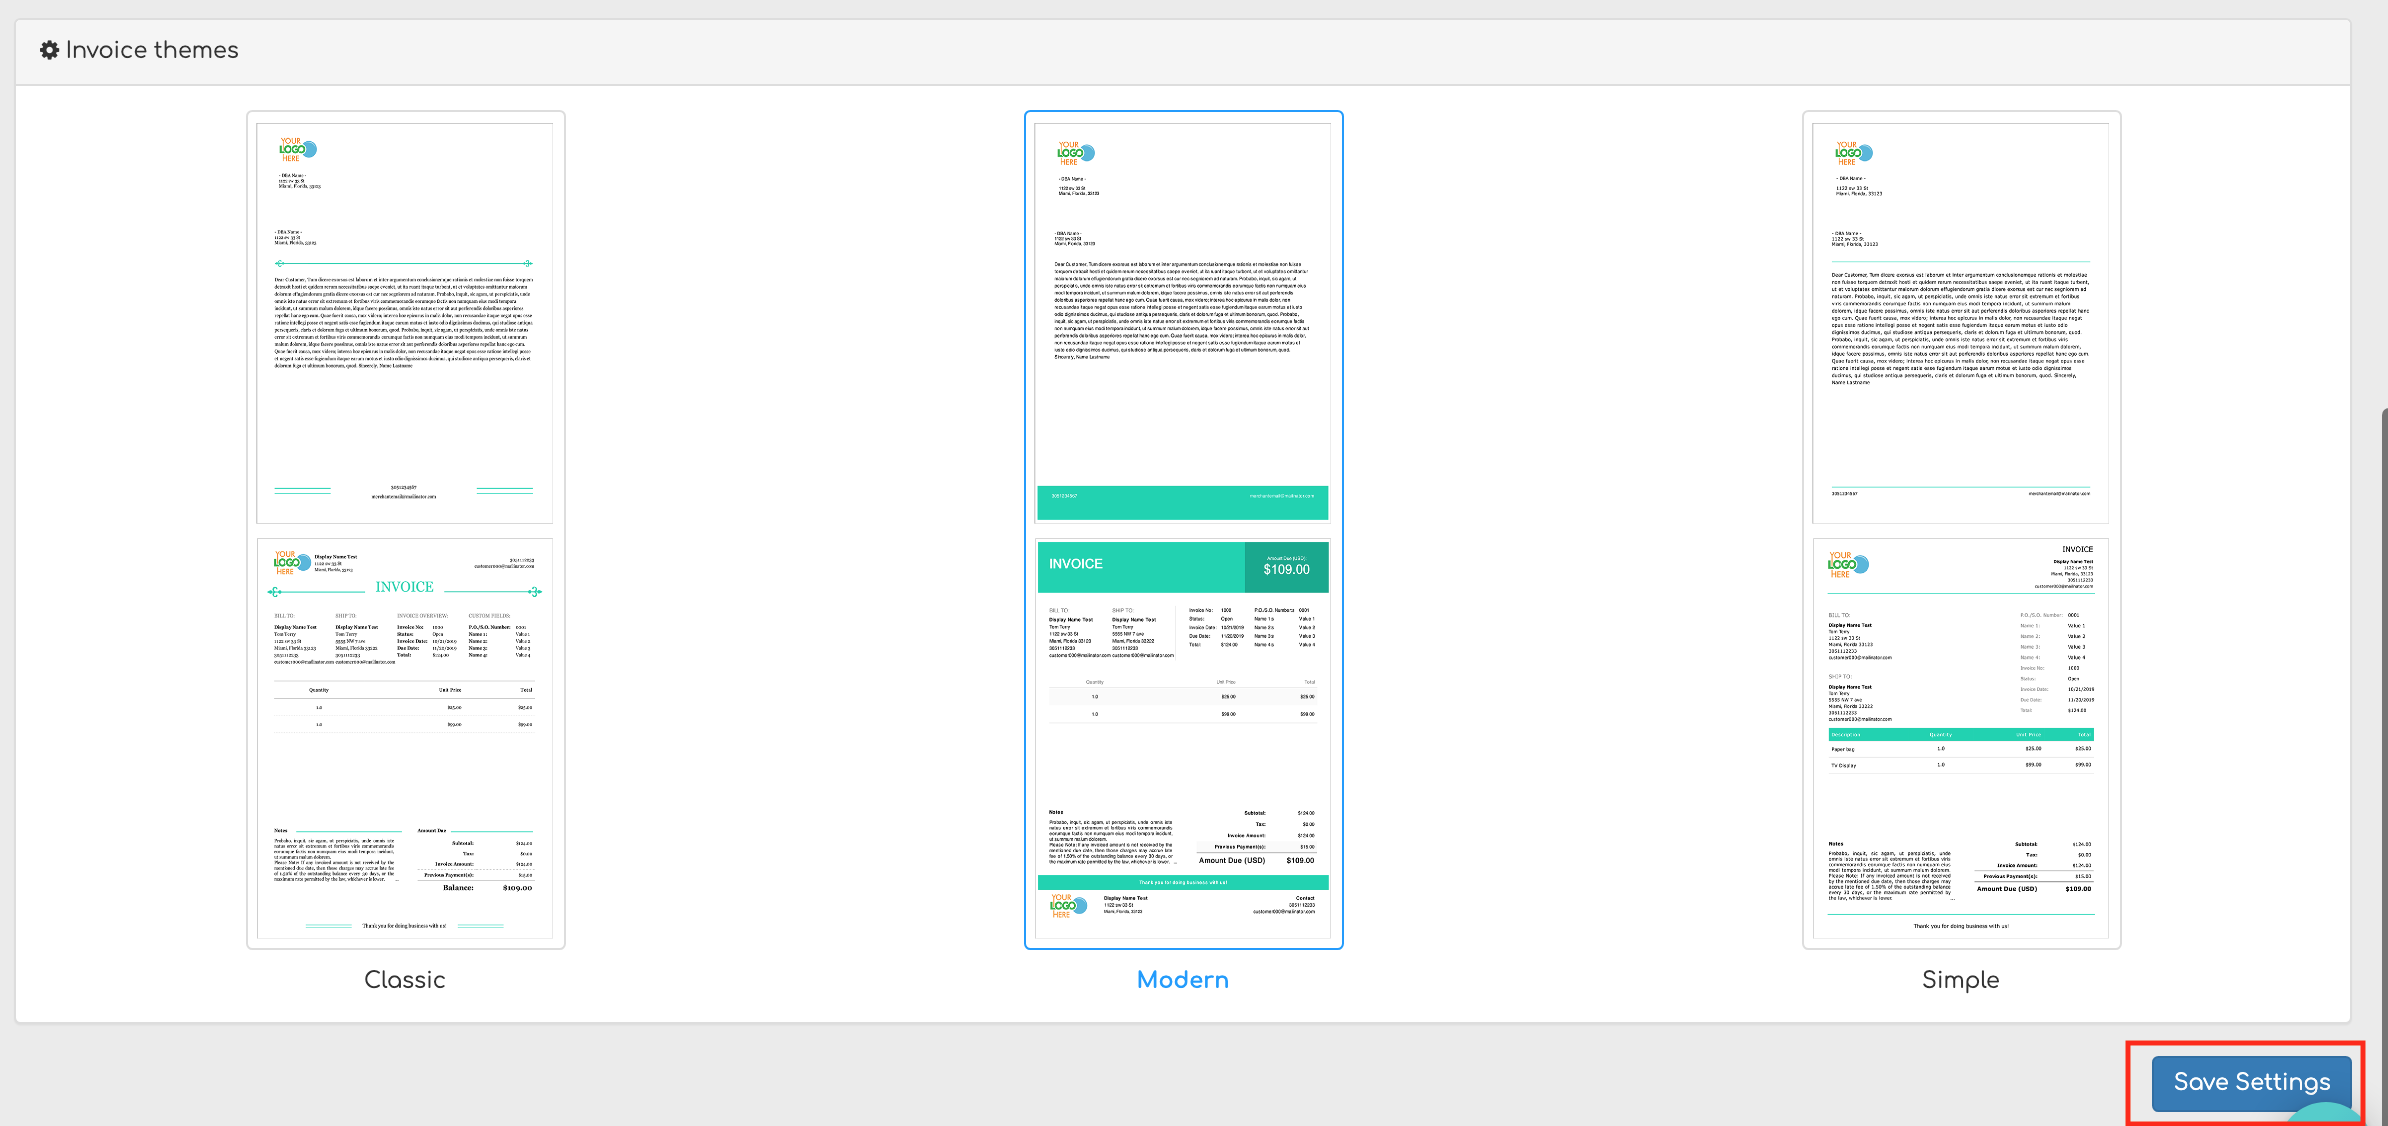
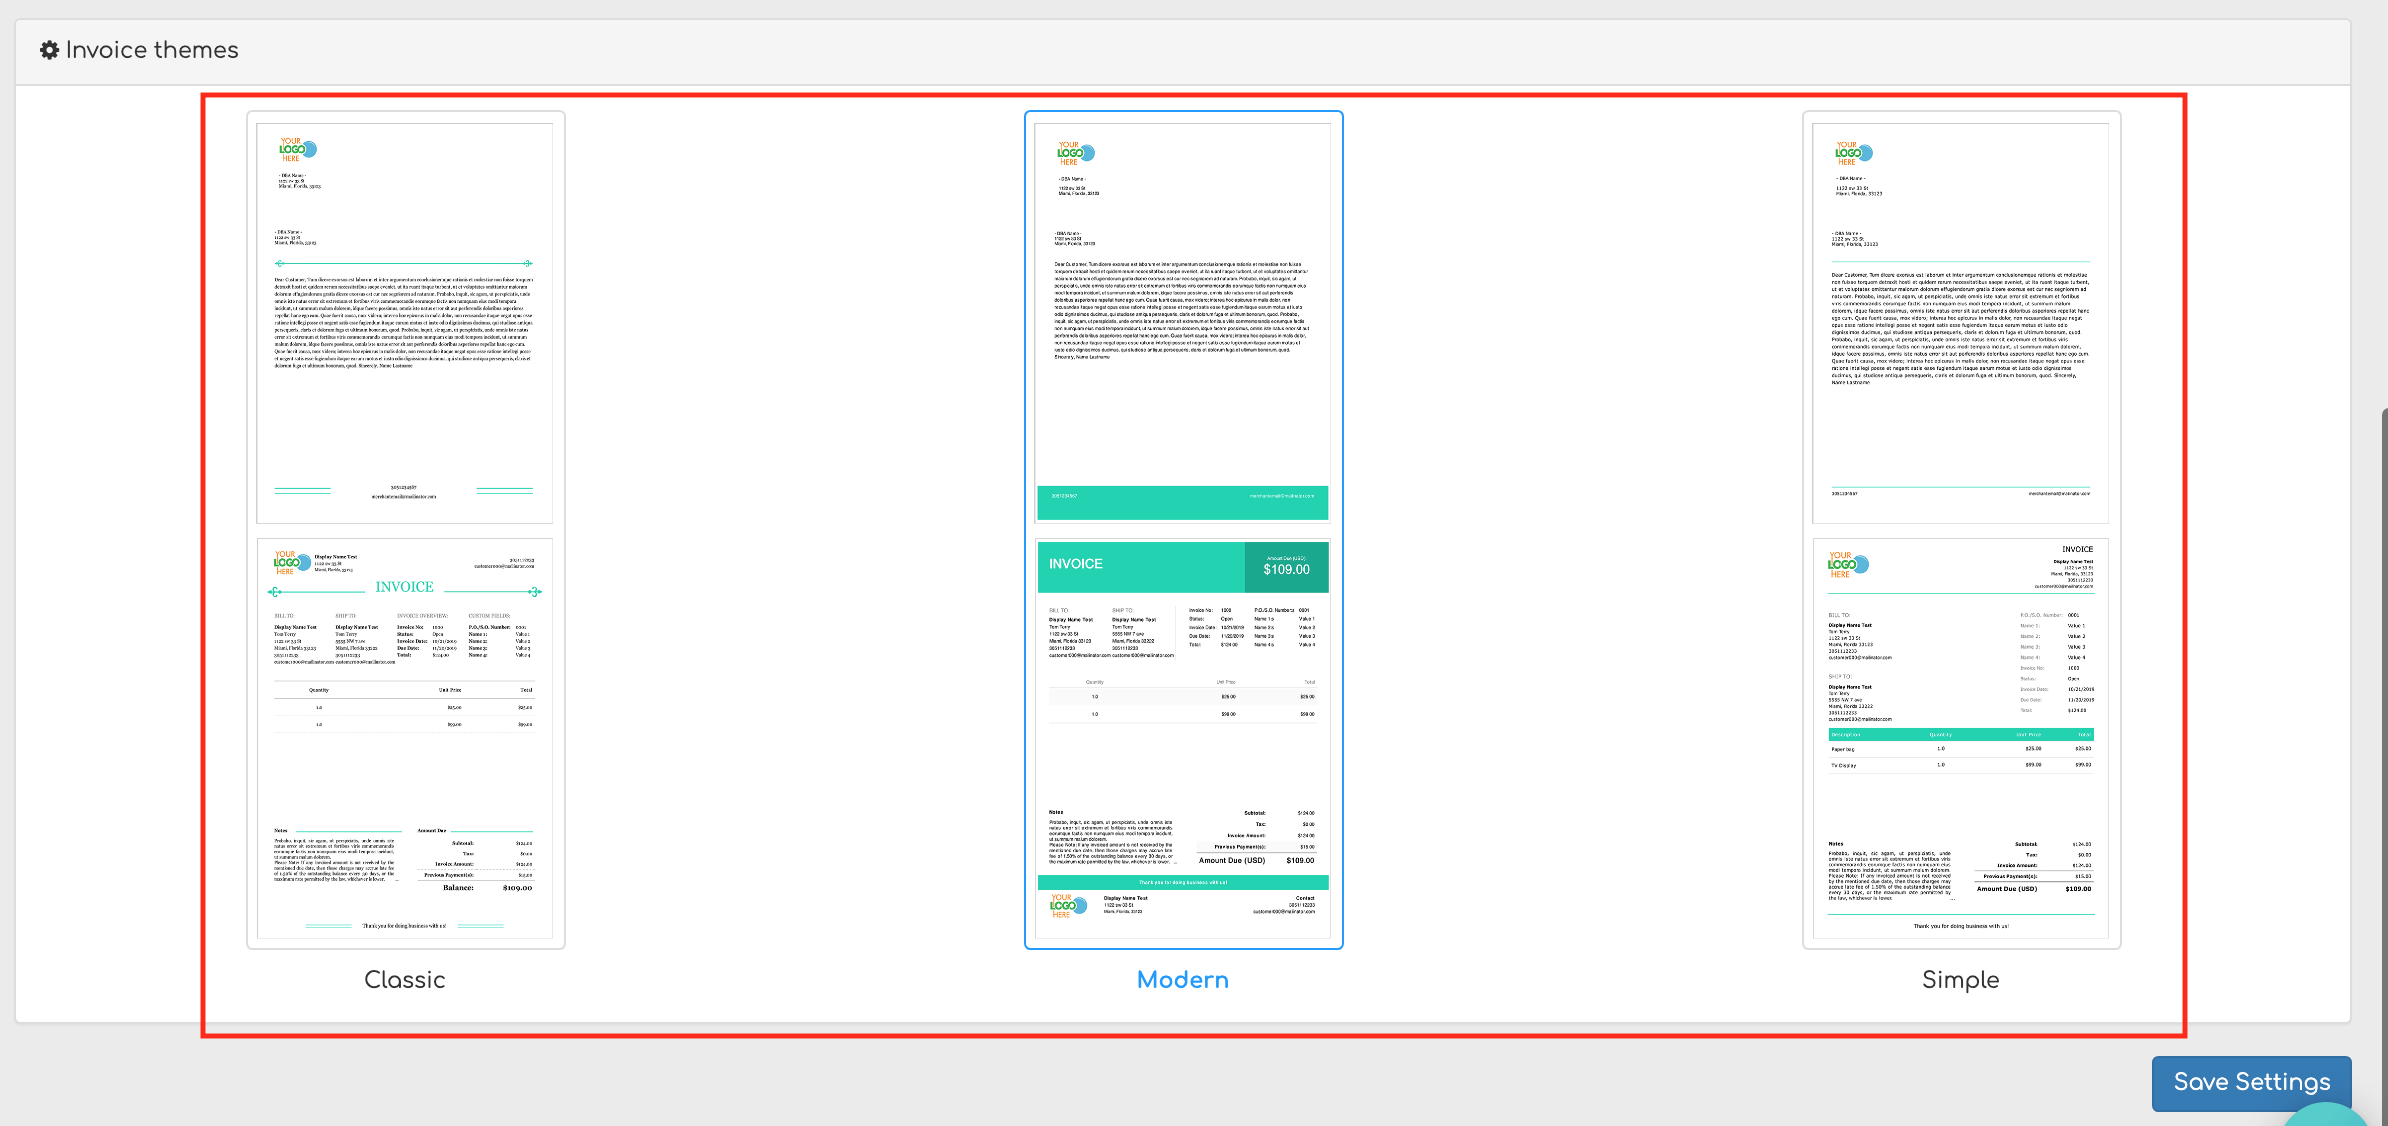
Select your preferred Invoice Template.
Choose from:
- Classic
- Modern
- Simple.
Step 4
Click Save Settings.
